backyard composting tips

Tips for Backyard Composting

Backyard composting is an excellent way to limit off-site disposal of  your yard and kitchen waste, while creating a nourishing soil additive for your gardens. Adding compost to your garden will promote soil health, improve soil drainage and structure,  loosen heavy soils, and suppress soil-borne plan diseases. Compost adds crucial micro-organisms, bacteria, and fungi threads for a more productive, healthy soil.

How to avoid a smelly compost pile

A properly tended compost pile won’t create unpleasant smells. By maintaining levels of air (oxygen) levels, moisture, and temperature, you can have a productive compost pile that will not offend your neighbors with any troubling smells.

The single most important tip in avoiding a stinky compost pile is making sure you have the correct ratio of “green matter” and “brown matter”.

Green matter includes such items as fruit and vegetable scraps, coffee grounds, and grass clippings. These items are high in nitrogen and decay very quickly.  Brown matter includes leaves, straw, used coffee filters, and sawdust. This items are high in carbon and decay more slowly.  An ideal ratio for composting is 1/3 greens to 2/3 browns.

Composting is the environmentally-friendly way to dispose of your food scraps and garden debris. According to the Wisconsin Department of Natural Resources, each year over 300,000 tons of yard materials is composted, saving all that waste from going to landfills and incinerators in Wisconsin.

Typically, composting does not require a licence or approval, as long as they are maintained in a nuisance-free manner. Always check with your local community ordinances to see if there are any backyard composting regulations. DO NOT compost foods such as meat, bones, dairy products or oils. These types of materials will attract animals and other unwanted pests.

If you need help creating or managing a compost pile in your backyard, contact Sprout Landscape & Garden today! We can help!

Edible Garden

Our Southern Wisconsin Red Raspberry Garden: Establishing a New Patch

Edible Garden

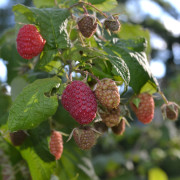
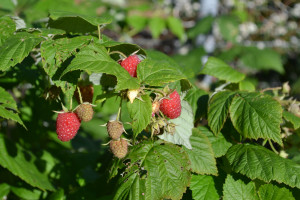
Autumn Britten Red Raspberries

Having your own raspberry patch can be very rewarding and a fun addition to your landscape. In order to establish and maintain a productive patch, there are important plant selection, siting, and care factors to consider.

To start, you’ll need to decide which type of raspberry you will grow. Raspberry fruit types can be categorized by either summer bearing or fall-bearing (called ever-bearing by some). Summer-bearing will produce one large crop during mid-late summer. Fall-bearing varieties will produce a large crop in the fall, as well as a small crop the following summer. Fall-bearing raspberries will generally grow best in the lower two-thirds of Wisconsin where the growing season is longer. In colder climates, an early frost may ruin a late-fall crop before it is fully developed.

Year 1: Getting Started

Our garden started after I received six Autumn Britten (fall-bearing) red raspberry transplants from a friend in late spring of 2012. This is an excellent cultivar because of its high yield, delicious fruit, and cold hardiness. And because it’s an early fall-bearer, we could plan on maximizing our harvest well before the first heavy frost.

We chose a sunny, well-drained location, amended the existing topsoil with compost, then installed the plants using adequate spacing (approx. 24” on center) to promote air circulation and allow future growth. A path around the patch provided access to maintain the plants and harvest the fruit, while preventing soil compaction within the patch. The path also provided an important buffer between the patch and the neighbors adjacent vegetable garden. This allowed us to easily recognize and remove any spreading growth trying to reach his garden and anything from his garden reaching toward our patch. We also installed a 24” high wire fence to protect the plants from our chickens, as well as help support longer canes along the perimeter of the patch.

Not surprising, the first year’s fruit production was sparse and sporadic. Our actual focus was not to push the plants for high fruit production, but rather focus on overall plant health and root development. We monitored watering, removed weeds, watched for pests, and continued to amend the soil. We used marsh hay during the summer to help moderate soil temperature, reduce soil moisture loss, prevent weed growth, and keep low-hanging fruit from contacting soil.

Because the plants were still thin going into winter, I did not cut them back, but cleaned out all leaves and old hay. To help insulate them for their first winter, I applied a layer of compost, followed by a layer of fresh hay. Any dead or wild growth was cut back early the following spring once we could access any winter die back.

Year 2: Harvesting Fruit & The Cane Borer: 

Even with an extremely cold winter, the young plants thrived in their second year and the fruit production was excellent. After starting to produce in early summer, the patch seemed to produce more and more as the season went on.

Though the second-year plants produced well this past summer, we did encounter our first pest: the raspberry cane borer. I had noticed occasional tips of the plants wilting, then dying off. Many of these stems included developing fruit. This was the result of the cane borer laying its eggs, which is done by creating a double row of punctures around the stem.

The cane borers will likely return to some degree this spring. To rid of the pests, I’ll be monitoring for the first sign of wilt, then immediately cutting the stem 5-6” below the punctures rings and disposing of the cuttings containing the eggs.

End-of-Season Expansion and Year 3 Planning:

At the end of this second year, I was given transplants of another fall-bearing cultivar called Heritage. This cultivar also develops excellent fruit, is very cold hardy, and produces upright, self-supporting canes. This prompted me to expand the current patch as well as make space for the new transplants and future strawberries.

First, I thinned and dug up the existing raspberry plants and re-spaced them to create a larger area now consisting of 9 Autumn Britten plants. For the new Heritage transplants, I mirrored our existing patch and followed the same steps as before to provide the conditions they require to thrive. And because this was November, I provided them winter protection right away.

This coming spring, we’ll be amending the soil once again for the new raspberries and future strawberry plants. Our goal is to create a berry garden that will not only produce edible fruit spring through fall, but also provide a yield large enough to enjoy throughout the entire year. My instincts are already telling me another expansion is likely:)

Madison landscape design

Garden Photo Favorites

One of the most rewarding part of gardening is enjoying plants in their flowering stages. But even the fresh emerging spring growth, developing buds and fall color can provide some beautiful scenes. By including a variety of plants in your garden with varying flowering times, you can enjoy color throughout the entire season. From flowering spring bulbs and ephemerals to mid-summer cone flower to fall aster, there can always be something exciting happening in your garden. Here’s some of our favorite plant photos from this past season at our garden:

Madison landscape photo

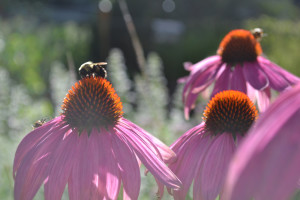
Coneflower


Sustainable gardening

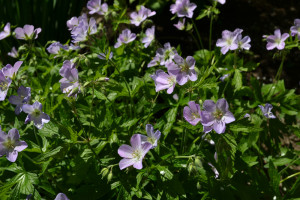
Wild Geranium

Madison rain harvesting

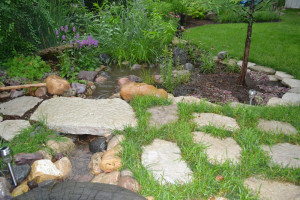
Rain Garden

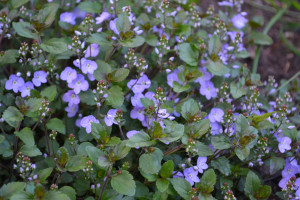
flowering groundcover

Waterperry Blue Veronica

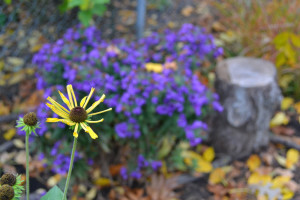
Yellow Coneflower

Little Henry Rudbeckia

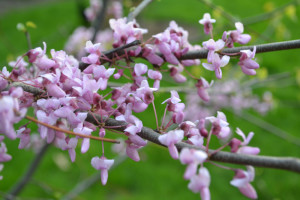
Redbud tree

Eastern Redbud

Vegetable garden

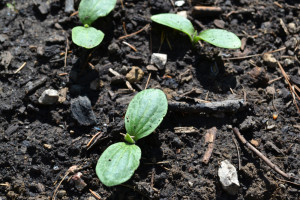
Garden Sprouts

Madison planting design

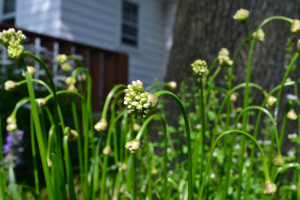
Summer Beauty Allium

Planting spring bulbs

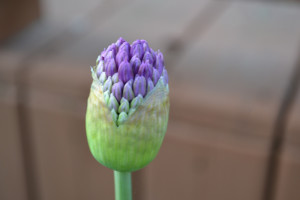
Spring allium bulbs

Vegetable garden

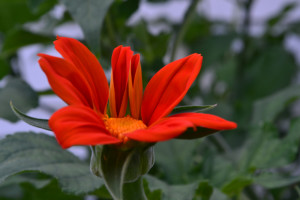
Mexican Sunflower

Growing hops

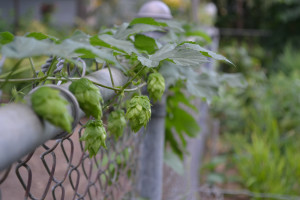
Hops

Madison garden

Mini Garden

Miniature Gardening & Tiny Landcapes

How to make a mini garden for less than $10:

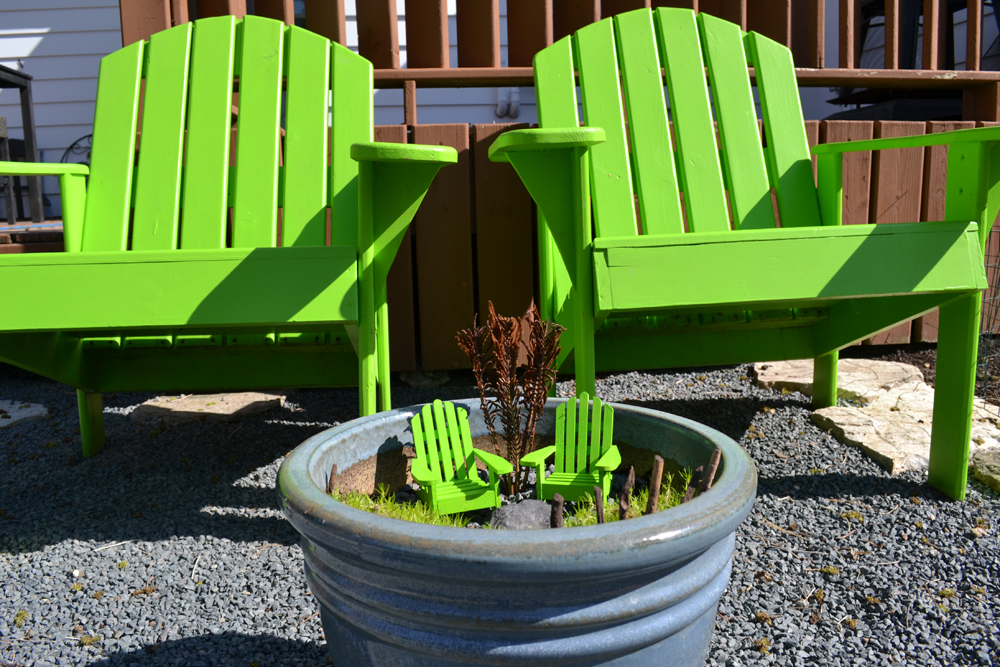
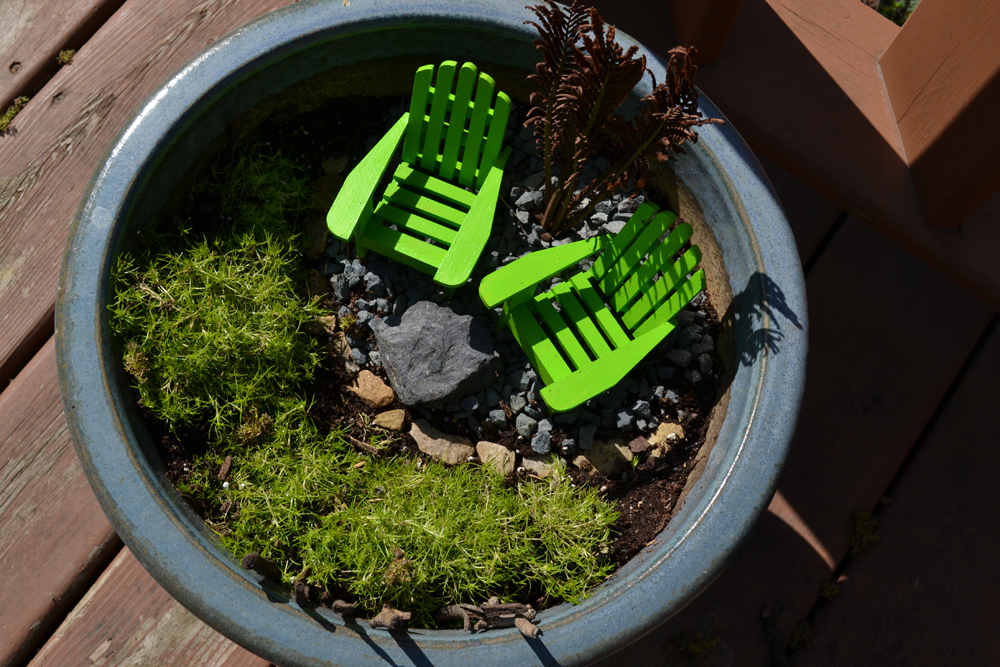
Who doesn’t love a miniature garden? At Sprout Landscape & Garden, we’re working on a series of mini landscapes for our own yard, including this replica of our blue stone patio with lime green adirondack chairs!

DSC_0483

Stay tuned for more pictures. We’ll be working on a miniature chicken coop and mini retaining walls.DSC_0479

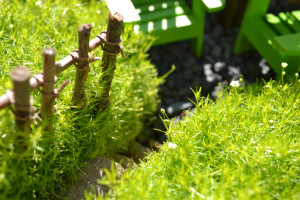
This mini garden is a large garden pot filled with soil. You could fill the bottom with rocks or foam and just top off with potting soil. Then we added some moss, some dried fern fronds and some blue stone gravel from our existing patio. We found some sharp flat rocks and made a little “flagstone” border.

We bought the adirondack chairs on Amazon and painted them lime green to match our real chairs. These were actually meant to be used as a cake topper!

Then we found some plain old twigs to start making a fence.

This whole garden (not including a pot, which we already had) cost less than $10 to make!

Mini gardening is fun for the whole family! It’s a great way to introduce children to gardening.


Raising Baby Chicks

Madison chicken coop

Chicks Keeping Warm Under Heat Light

Thinking about raising chickens in your back yard? If so, now is a great time to start planning for your new flock. A fun way to begin is by raising your own baby chicks. While incubating fertilized eggs is an option, many folks choose to purchase newly hatched chicks from a local farmer or farm supply store. You can even buy them online and have them shipped! And newly hatched chicks are cheap… often as low as $1.99 each!

Before you get your chicks, make sure to be prepared for their arrival. First, you’ll need a brooder. This is simply a sturdy pen (such as a large box or storage tub) that will house and protect the chicks. A heat lamp should be securely attached to the brooder to maintain proper temperatures. In the first week, chicks will need the temperature at about 90-100 degrees! For the floor, use pine shavings or a similar material to cushion and help absorb moisture. Food and fresh water should be kept in the brooder so the chicks can eat and drink at will. Finally, interact with them as much as possible to get them used to being around people.

You may decide you want to raise 4 hens (the maximum allowed in the city of Madison) or prefer to start with just a couple. Either way, consider purchasing a few more chicks than you plan on raising. A chick may not be fully healthy when it arrives at your home and may not be strong enough to survive. Also, even when purchasing chicks being sold as “female”, there may still be males in the bunch. Since roosters are not allowed in town, you would have to find a new home for any accidental males. Lastly, as the chicks develop, you’ll start to notice character differences. Some will be more aggressive or skittish, while others seem more friendly and calm. A flock that gets along can really make it a more enjoyable experience for you and your visitors.

After they hatch, the new chicks will need about 6 weeks of TLC until they are feathered out and ready for the outdoors. A common time to get baby chicks is early-mid March. After those 6 weeks, they’re ready to head outside to the coop, just in time for spring!

Native gravel gardening

Madison Area Master Gardener Program Completion

As I hoped, the first year at Sprout Landscape & Garden was very busy. But from the beginning, I wanted to work in time to learn more about the local gardening community. To do so, I chose to enter the Wisconsin Master Gardener Volunteer training program through the UW Extension office. The program spanned an entire growing season, beginning in late February and wrapping up in early September. As of this past Thursday, I officially became a certified Wisconsin Master Gardener Volunteer!

Elvehjem School Garden Summer 2014

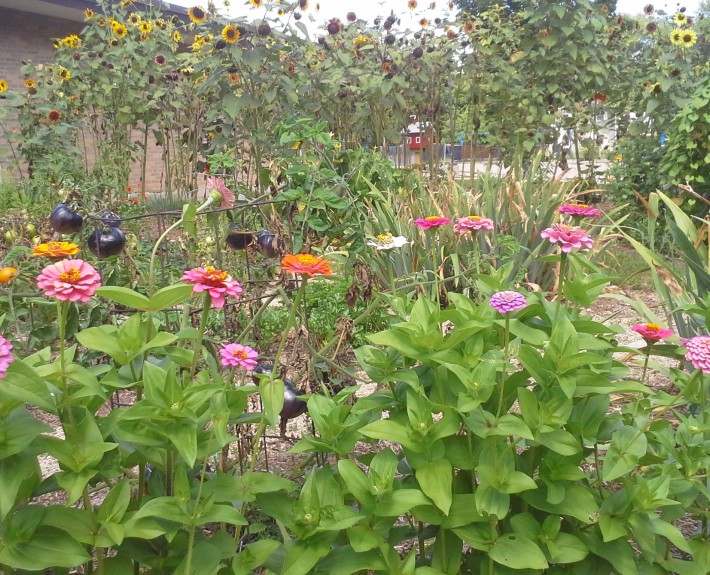
The Elvehjem Elementary School education garden- Summer 2014

I really enjoyed integrating the program into my schedule. It exposed me to plenty of new great gardening knowledge, tips and resources. Every-other-week classes covered very useful topics, such as soils, composting, garden-based learning for kids, tree and shrub pruning, insects, plant disease, weeds and invasive plants, organic garden techniques, vegetables, houseplants and more.

Besides the classes, the other main component of the program is volunteering. The program promotes volunteering with many local school gardens and other community gardens. I spent my volunteer hours at Elvehjem Elementary, the UW Extension education gardens, and Olbrich Botanical Gardens, totally nearly 100 hours of volunteer hours!

Every Thursday morning at Olbrich, I helped a small crew perform a variety of gardening tasks throughout the grounds. These including weeding, plantings, pruning, mulching, and fruit harvesting. I valued the hands-on experience, watching how the gardens changed throughout the year, and working with the friendly, down-to-earth staff and other volunteers.

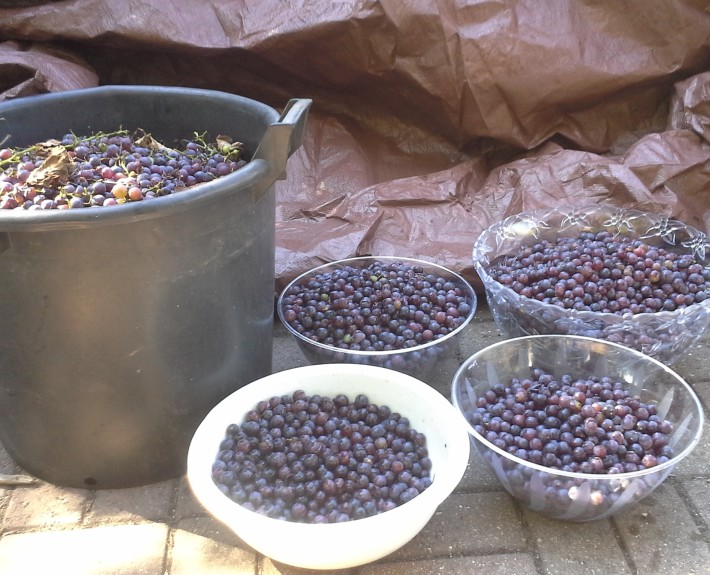
Grapes harvested by our volunteer group

Grapes harvested by our volunteer group

The community of Master Gardener’s is a close-knit group, and I appreciate becoming part of their movement for education and involvement in our community’s gardens.

Particular thanks to our instructor, Lisa Johnson, who’s personality and wealth of knowledge made for a fun, insightful program.

For more information on the Madison Area Master Gardener Association, please follow the link.

Residential Landscape Design

Madison Parade of Homes 2014

Do It Yourself Landscape Plan for Homeowners

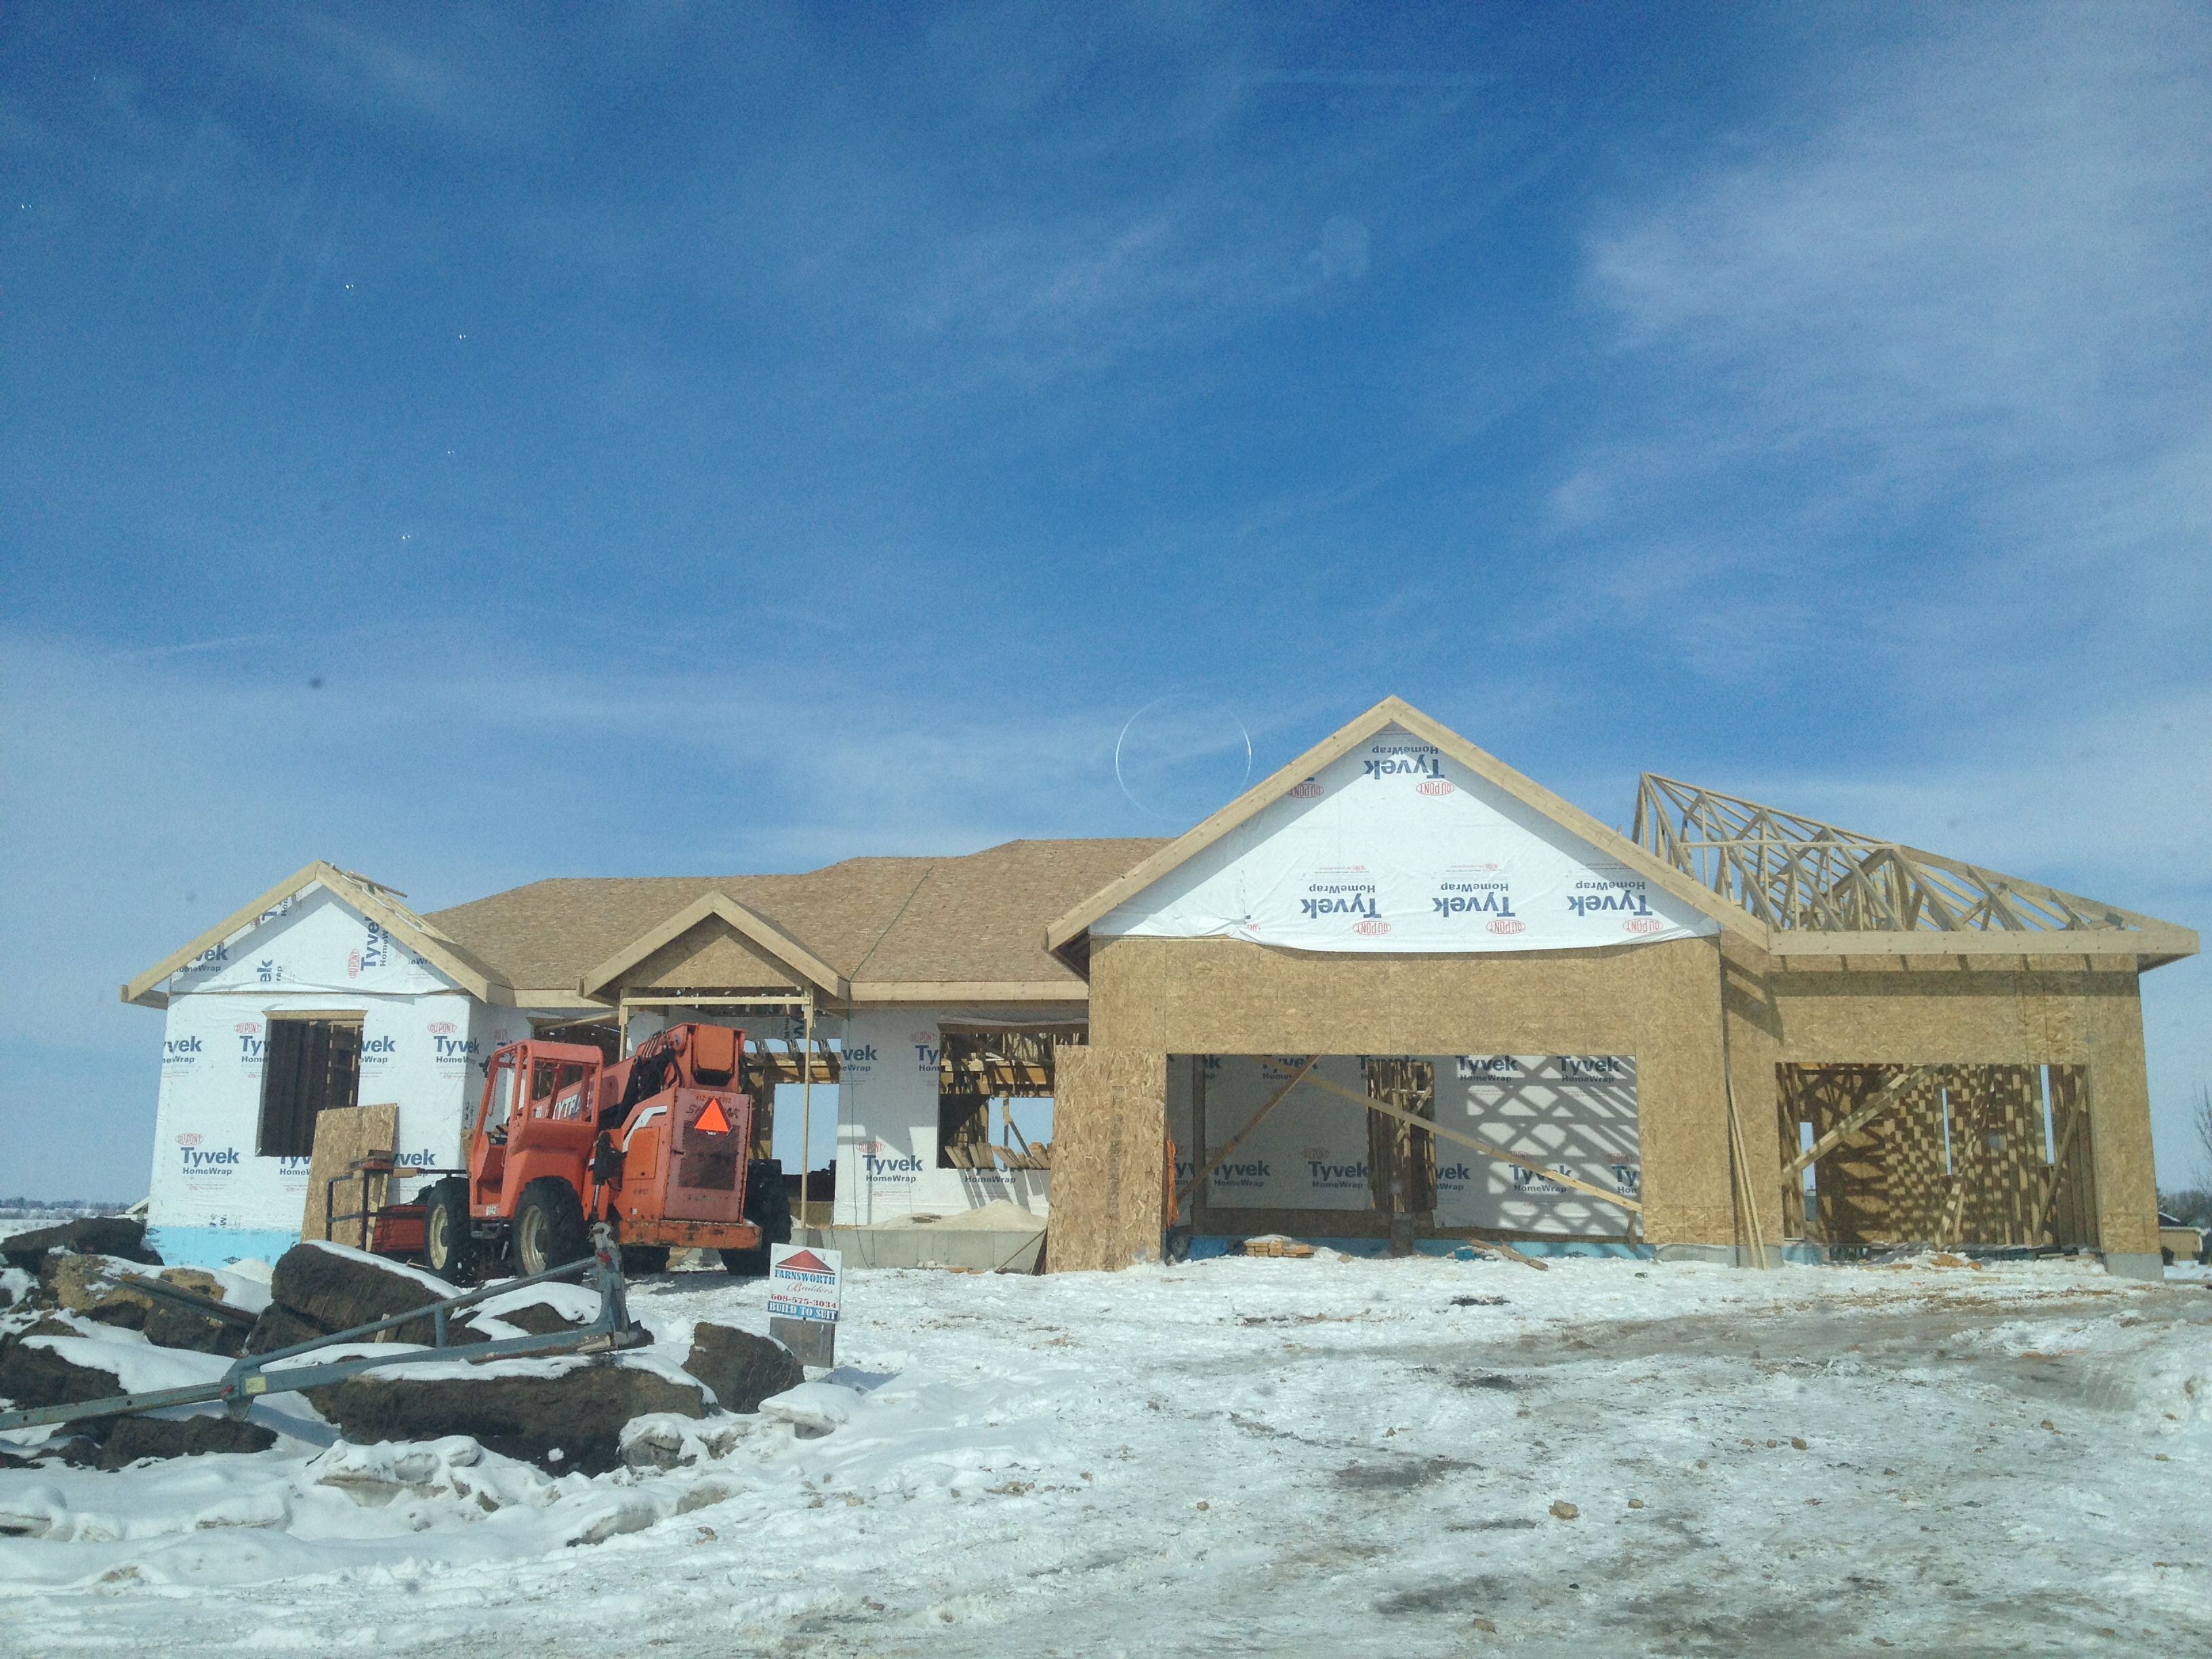
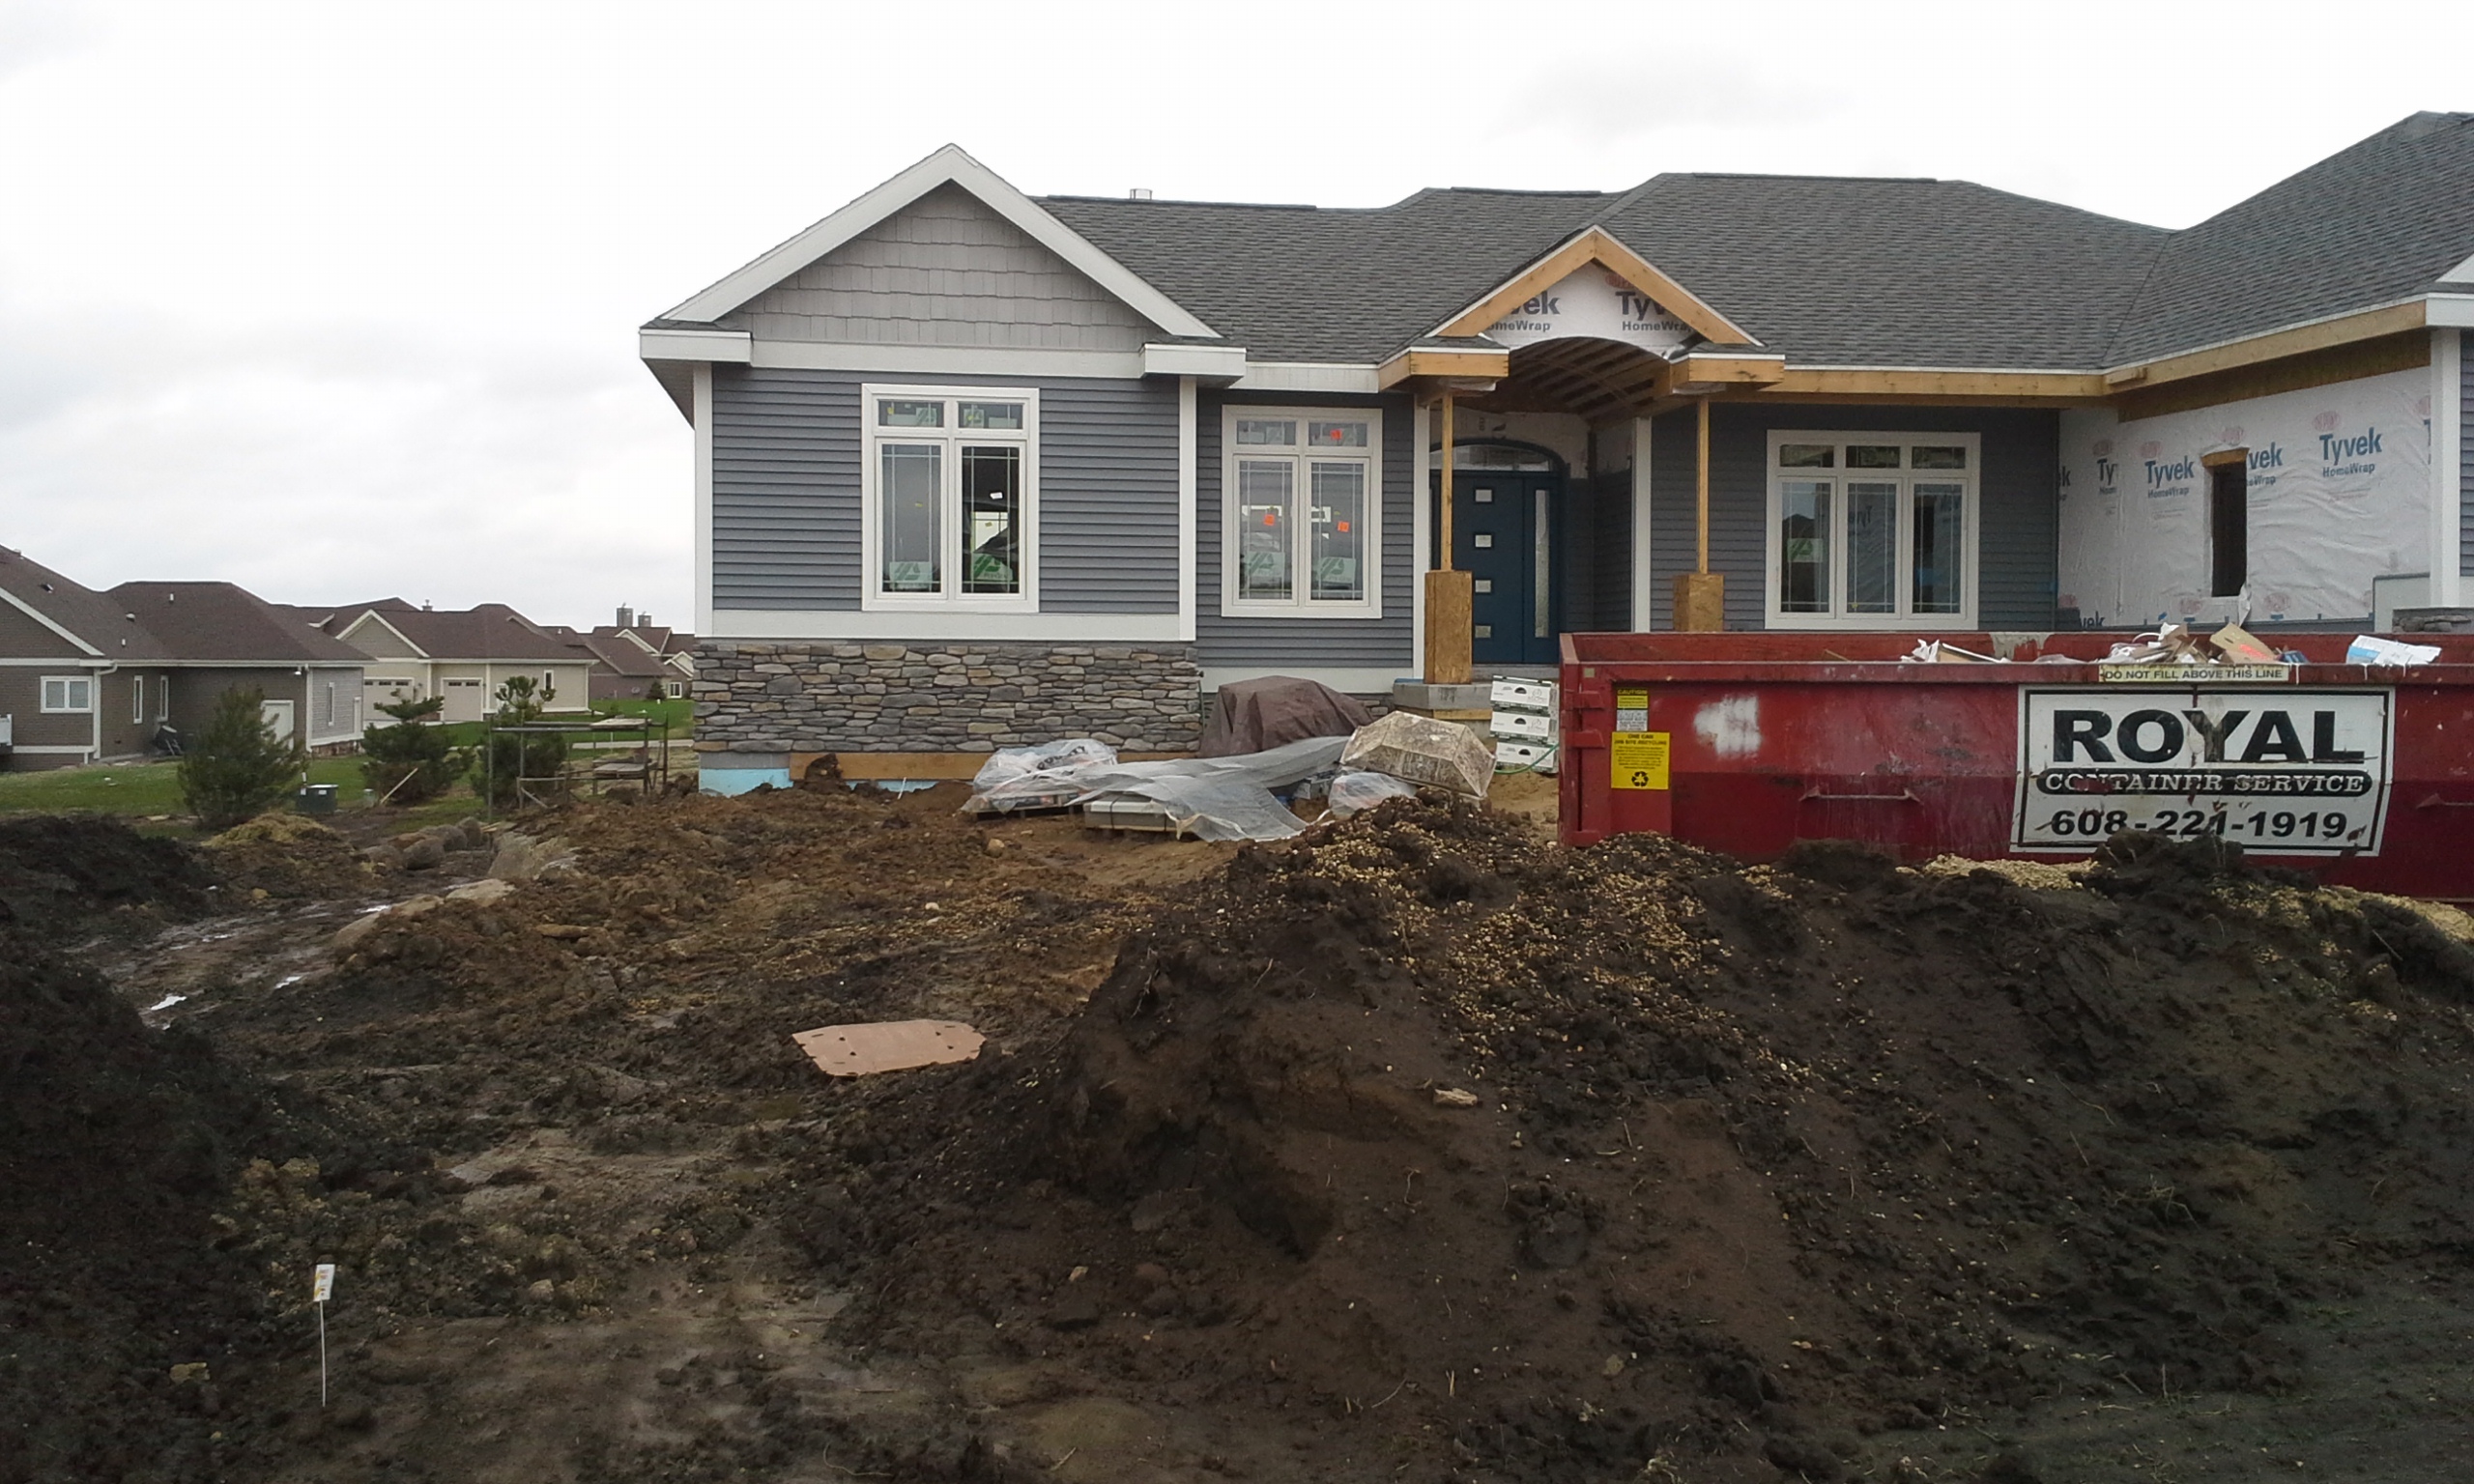
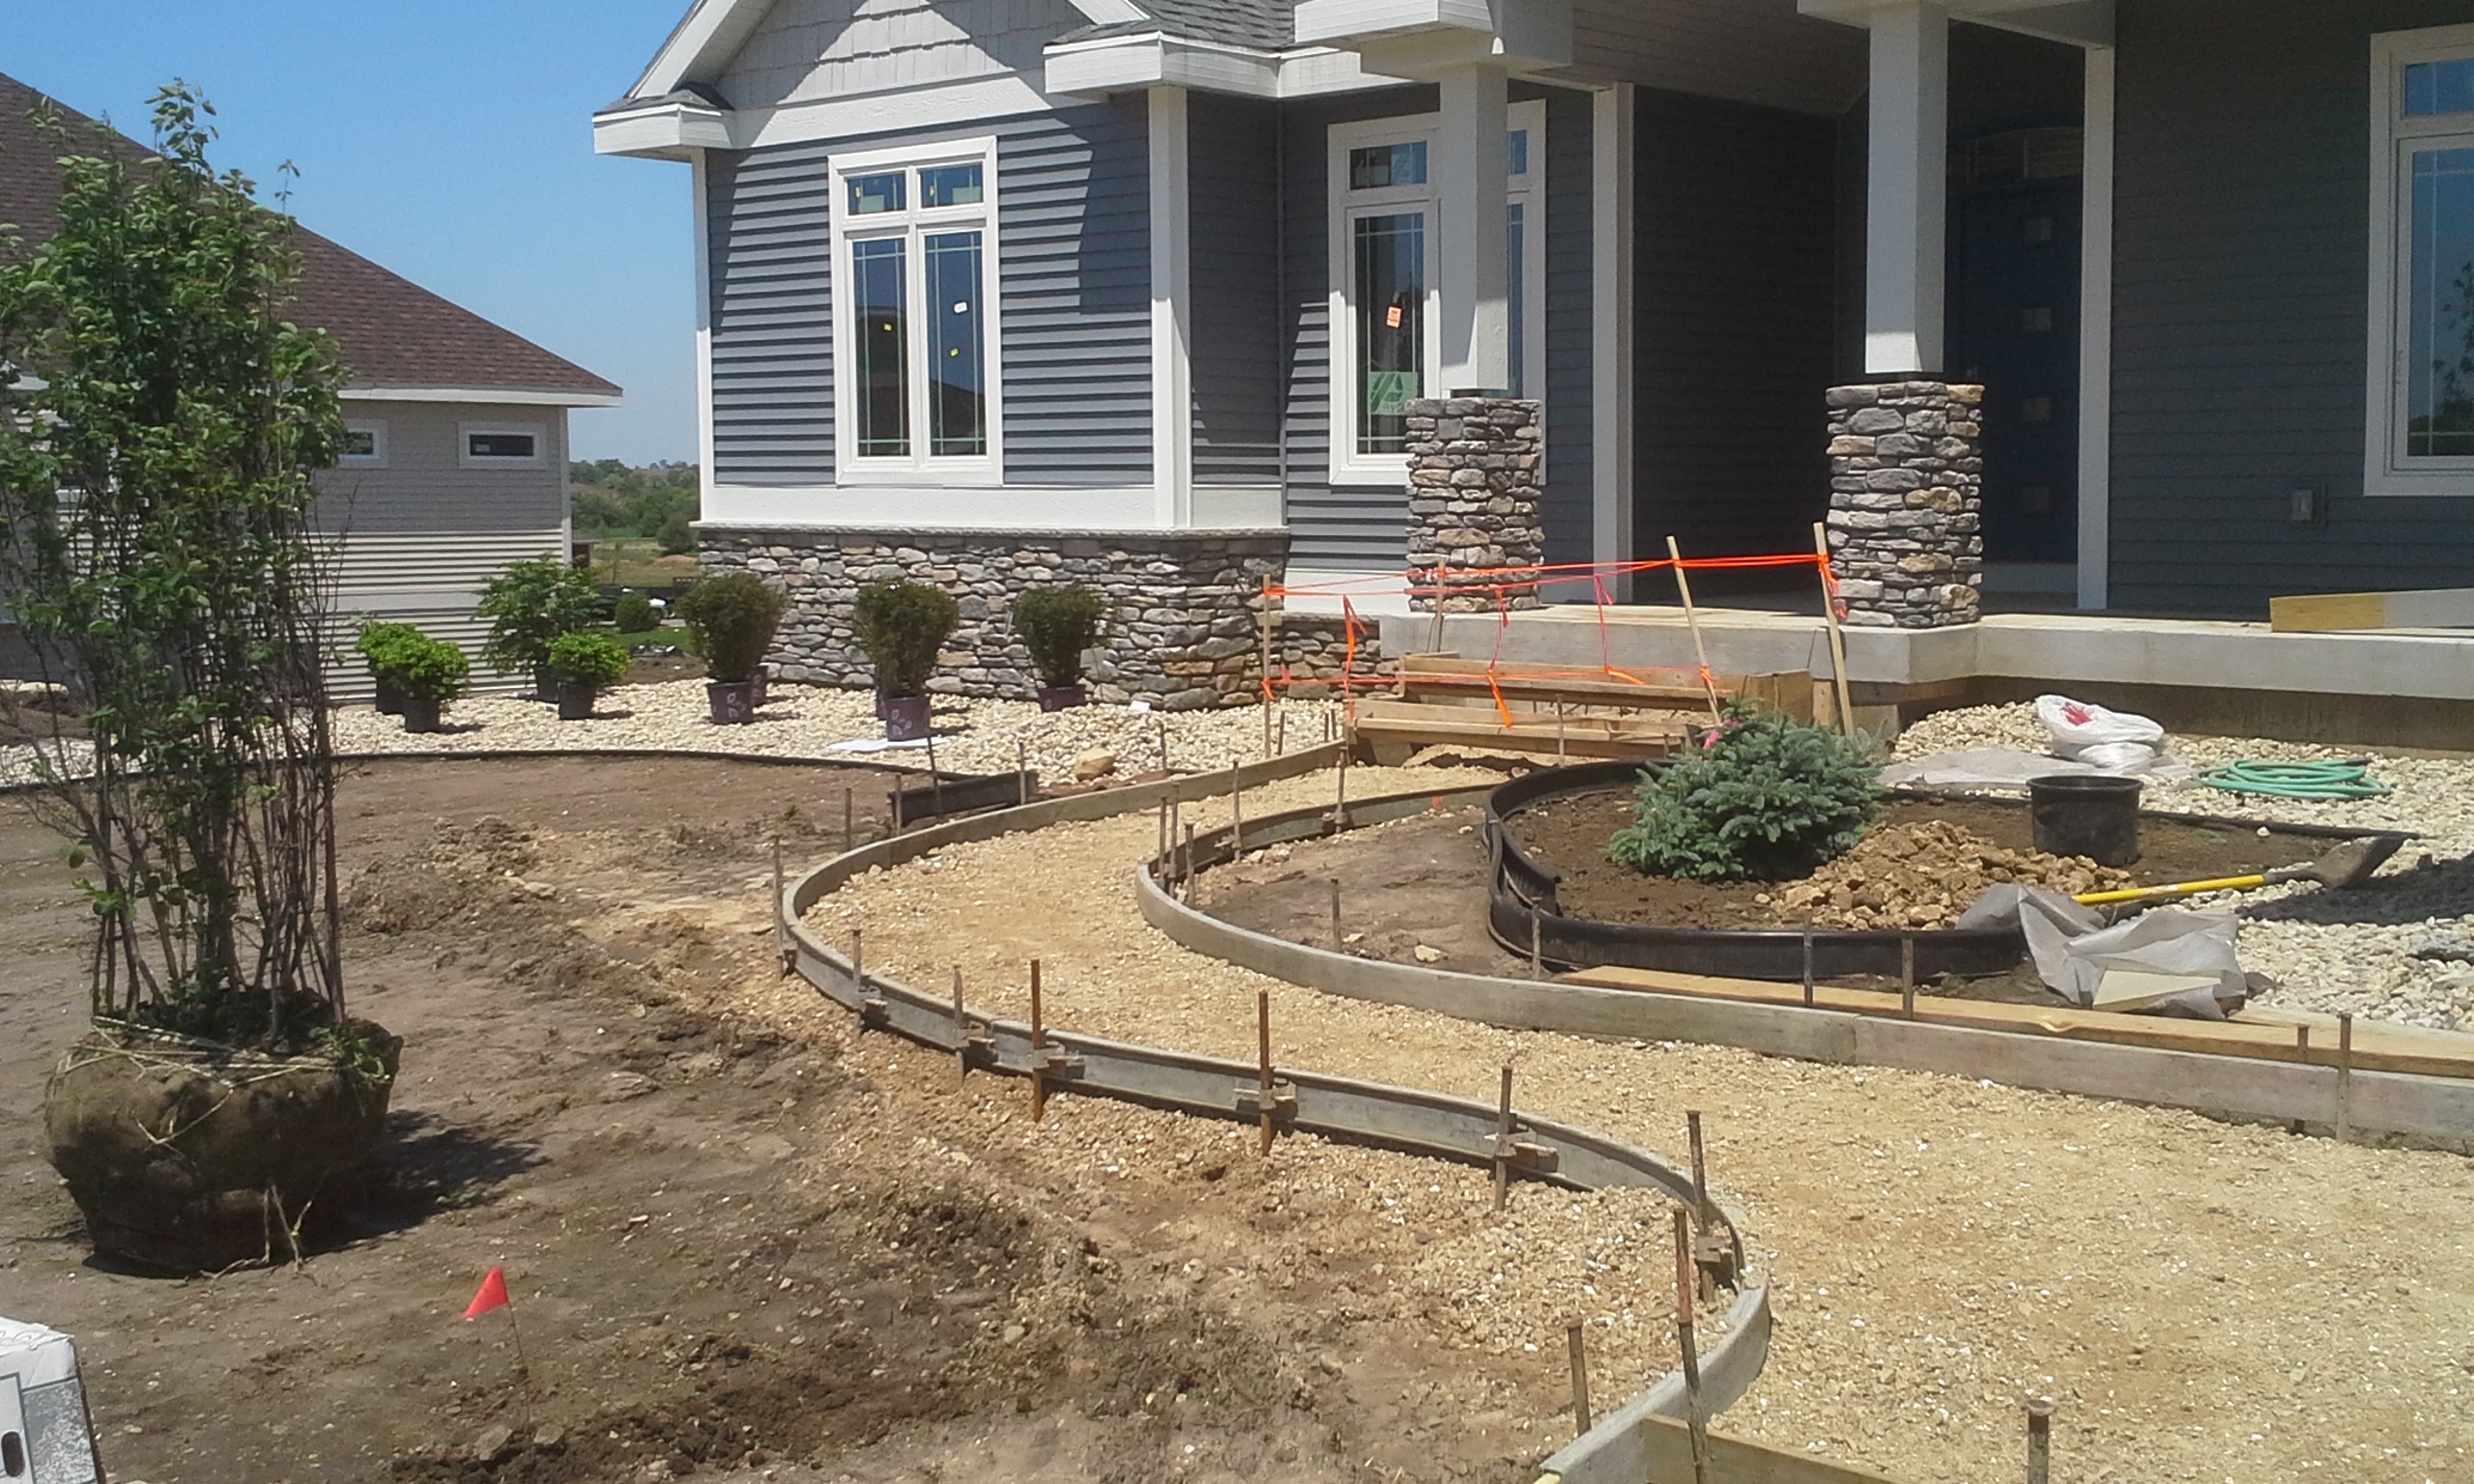
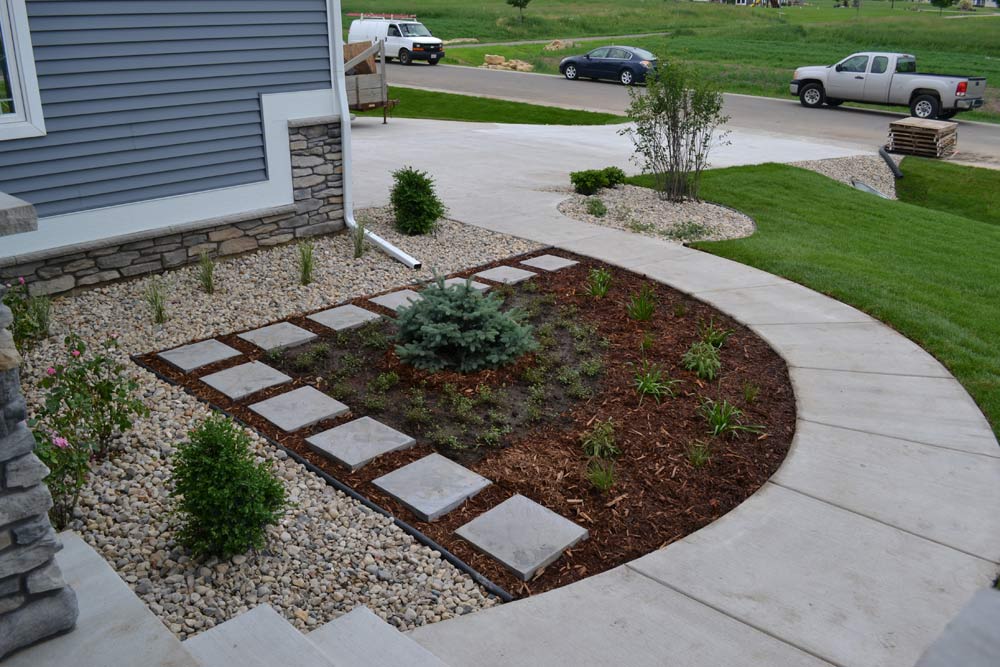
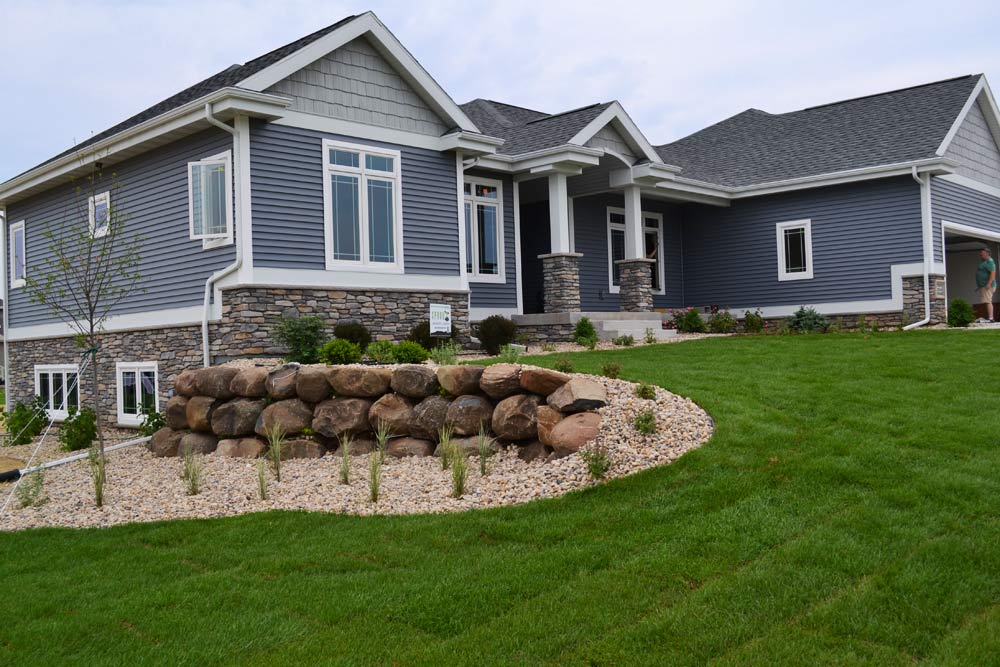
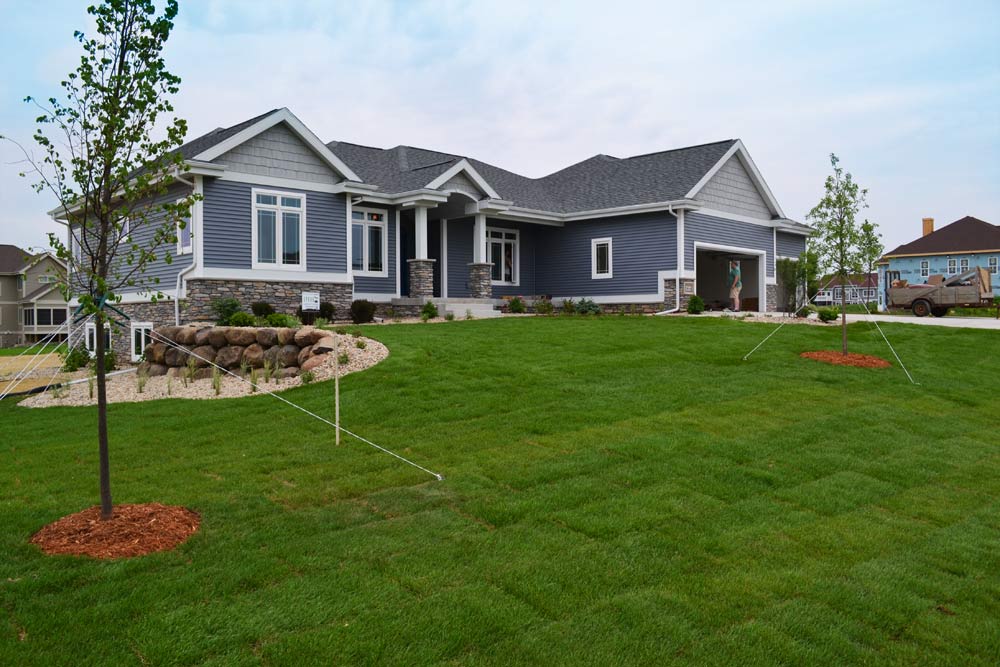
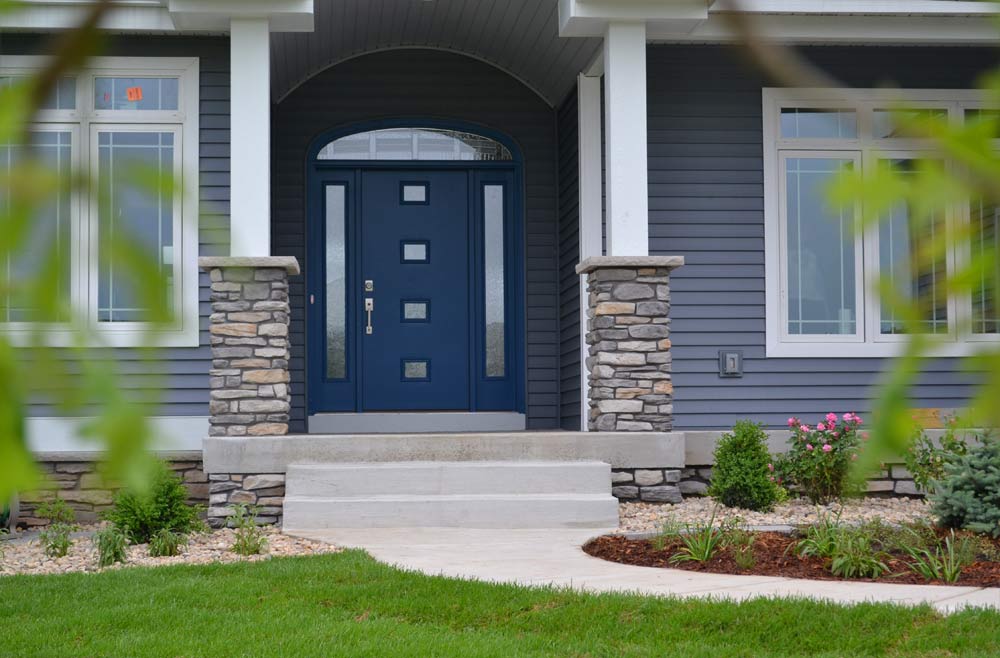
We are so excited for the opportunity to have created the landscape design for one of the 2014 Madison Parade of Homes entries! This gorgeous new home is located in Bristol Gardens in Sun Prairie, Wisconsin. The home was built by Farnsworth Builders.

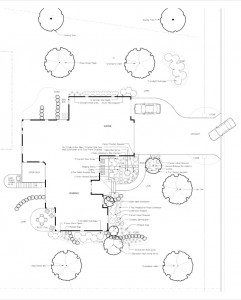
DIY landscape plansSprout Landscape & Garden created a do-it-yourself (DIY) landscaping plan for the homeowners who were excited to put some sweat equity into their new home. But there were some things the homeowners needed assistance on, so Sprout provided guidance and additional manpower as needed. At Sprout, we’re here to help, and we can provide as much or as little help as needed!

The focus of this do-it-yourself design was low maintenance plantings and beds. The choice of plants and spacing will allow for maximum future growth and reduce the amount of pruning and maintenance in the future. The beds were lined with weed barrier fabric and covered in a native washed stone for low maintenance.
But keep in mind, there is no such thing as “no-maintenance landscaping!” Every landscape takes some care.

If you have a yard, you will have to give it some care. But knowing the right plants and building materials can drastically reduce the amount of time you spend pruning, weeding, watering and managing your landscape. And of course planting the right plants in the appropriate places will reduce maintenance and increase the likelihood of survival, saving you money and time in the long run.

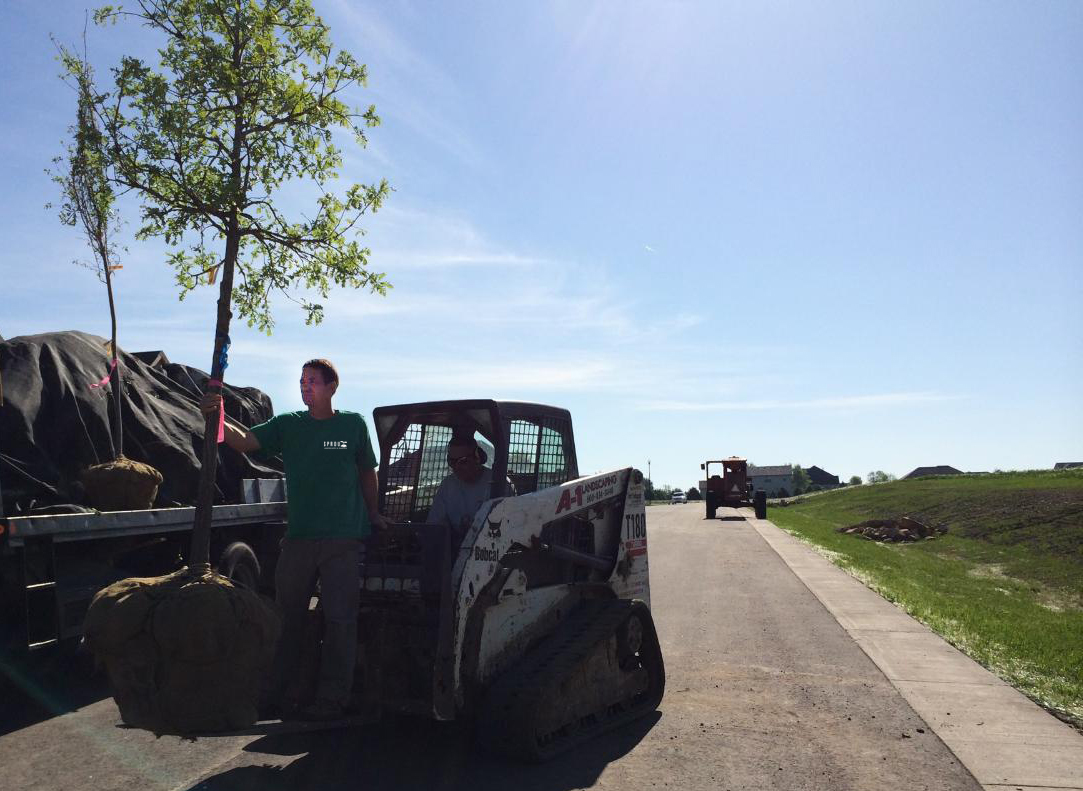
The other consideration with the plant selection in this Parade of Homes design was to make sure they are wind resistant. In new developments, wind can be a problem. We chose trees such as bur oak and greenspirelinden for their hardy nature. They will withstand much more extreme wind conditions than, for example, a soft wood maple.

Another important feature in this design is that the homeowners wanted plants that would be blooming all season and have a variety of fall colors. For this, we choice trees such as serviceberry for its characteristics. The serviceberry has lovely white flowers in the spring, attractive fruits that birds love to eat, and beautiful fall tones of orange, yellow and red.

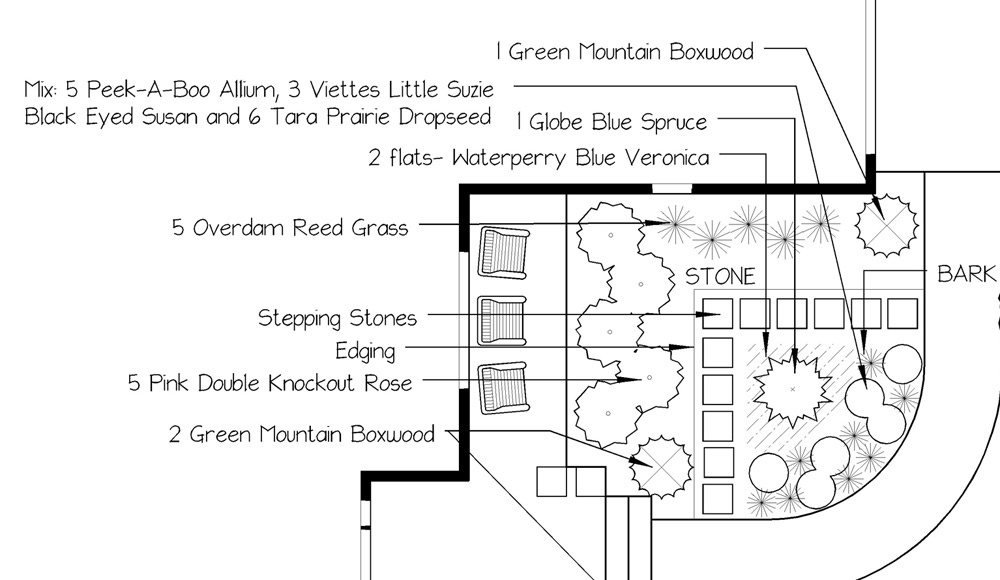
See below for the a close-up of what you can expect for a do it yourself landscape design and please contact us today if you are interested in learning more!

diy landscape ideas