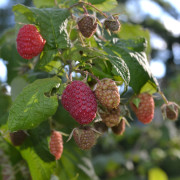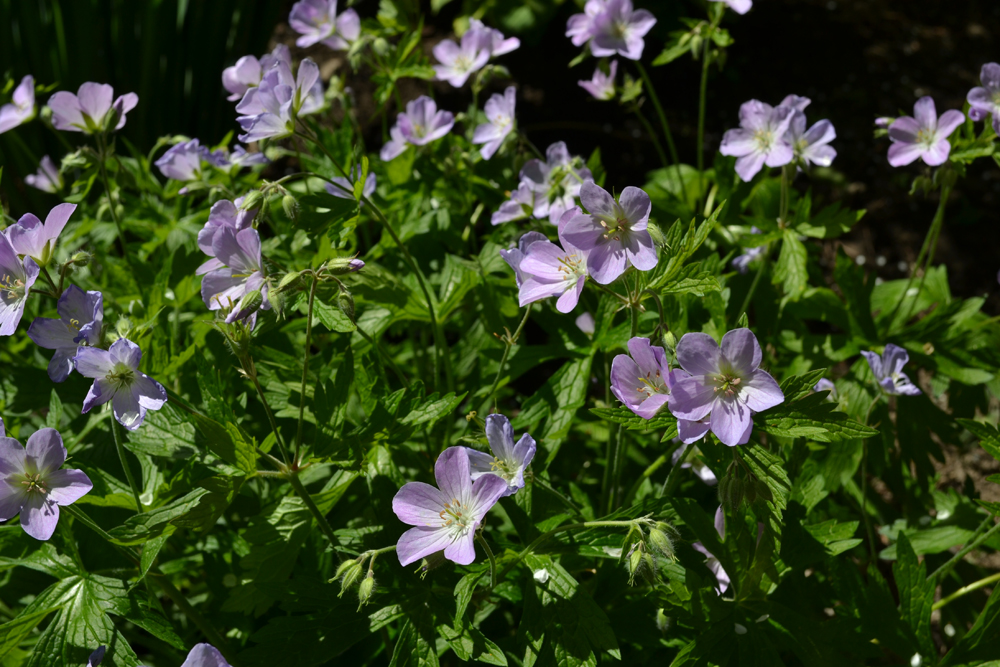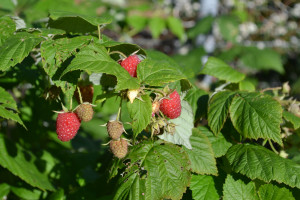
Autumn Britten Red Raspberries
Having your own raspberry patch can be very rewarding and a fun addition to your landscape. In order to establish and maintain a productive patch, there are important plant selection, siting, and care factors to consider.
To start, you’ll need to decide which type of raspberry you will grow. Raspberry fruit types can be categorized by either summer bearing or fall-bearing (called ever-bearing by some). Summer-bearing will produce one large crop during mid-late summer. Fall-bearing varieties will produce a large crop in the fall, as well as a small crop the following summer. Fall-bearing raspberries will generally grow best in the lower two-thirds of Wisconsin where the growing season is longer. In colder climates, an early frost may ruin a late-fall crop before it is fully developed.
Year 1: Getting Started
Our garden started after I received six Autumn Britten (fall-bearing) red raspberry transplants from a friend in late spring of 2012. This is an excellent cultivar because of its high yield, delicious fruit, and cold hardiness. And because it’s an early fall-bearer, we could plan on maximizing our harvest well before the first heavy frost.
We chose a sunny, well-drained location, amended the existing topsoil with compost, then installed the plants using adequate spacing (approx. 24” on center) to promote air circulation and allow future growth. A path around the patch provided access to maintain the plants and harvest the fruit, while preventing soil compaction within the patch. The path also provided an important buffer between the patch and the neighbors adjacent vegetable garden. This allowed us to easily recognize and remove any spreading growth trying to reach his garden and anything from his garden reaching toward our patch. We also installed a 24” high wire fence to protect the plants from our chickens, as well as help support longer canes along the perimeter of the patch.
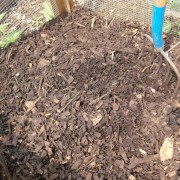
Not surprising, the first year’s fruit production was sparse and sporadic. Our actual focus was not to push the plants for high fruit production, but rather focus on overall plant health and root development. We monitored watering, removed weeds, watched for pests, and continued to amend the soil. We used marsh hay during the summer to help moderate soil temperature, reduce soil moisture loss, prevent weed growth, and keep low-hanging fruit from contacting soil.
Because the plants were still thin going into winter, I did not cut them back, but cleaned out all leaves and old hay. To help insulate them for their first winter, I applied a layer of compost, followed by a layer of fresh hay. Any dead or wild growth was cut back early the following spring once we could access any winter die back.
Year 2: Harvesting Fruit & The Cane Borer:
Even with an extremely cold winter, the young plants thrived in their second year and the fruit production was excellent. After starting to produce in early summer, the patch seemed to produce more and more as the season went on.
Though the second-year plants produced well this past summer, we did encounter our first pest: the raspberry cane borer. I had noticed occasional tips of the plants wilting, then dying off. Many of these stems included developing fruit. This was the result of the cane borer laying its eggs, which is done by creating a double row of punctures around the stem.
The cane borers will likely return to some degree this spring. To rid of the pests, I’ll be monitoring for the first sign of wilt, then immediately cutting the stem 5-6” below the punctures rings and disposing of the cuttings containing the eggs.
End-of-Season Expansion and Year 3 Planning:
At the end of this second year, I was given transplants of another fall-bearing cultivar called Heritage. This cultivar also develops excellent fruit, is very cold hardy, and produces upright, self-supporting canes. This prompted me to expand the current patch as well as make space for the new transplants and future strawberries.
First, I thinned and dug up the existing raspberry plants and re-spaced them to create a larger area now consisting of 9 Autumn Britten plants. For the new Heritage transplants, I mirrored our existing patch and followed the same steps as before to provide the conditions they require to thrive. And because this was November, I provided them winter protection right away.
This coming spring, we’ll be amending the soil once again for the new raspberries and future strawberry plants. Our goal is to create a berry garden that will not only produce edible fruit spring through fall, but also provide a yield large enough to enjoy throughout the entire year. My instincts are already telling me another expansion is likely:)